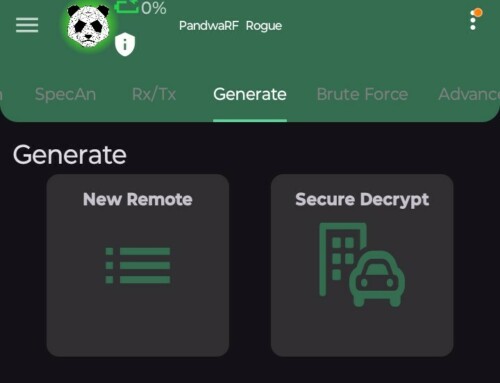

The PandwaRF Model Searcher is a very powerful feature that can:
- analyze the captured data
- find the encoder used, and also the brand and the model of the transmitter (for Rogue Gov)
- allow the user to easily transform a captured RF command into another RF command and send it
The Model Searcher is supported by:
- the Rogue Pro, which includes an encoder database.
- the Rogue Gov which also includes an alarm and gate opener database.
We uploaded a demo video showing how the Model Searcher works for PandwaRF Rogue Pro.
To use this feature, first go to the Rx/Tx tab in the PandwaRF application.
Follow these steps (as you would do for any normal RX capture):
- Set the frequency or use the auto detect frequency
- Set the modulation (most of the time ASK/OOK)
- Set the data rate or switch to oversampling mode
- Capture data by transmitting a message from the remote
- Wait until the RX progress stops, or stop it manually when you have captured enough data
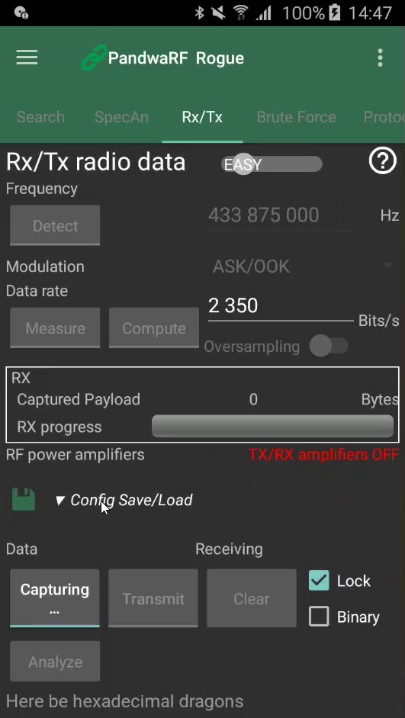
You will see the data at the bottom of the screen.
- Click on Analyze and the Model Searcher will open.
Some information will be displayed on the screen:
- Filters: modulation, data rate, frequency and pattern. These filters are used to distinguish one chipset from another. Uncheck if you want to expand the search scope.
- Number of found chipsets
- Transmitted codeword
- And a list of chipsets corresponding to the captured codeword
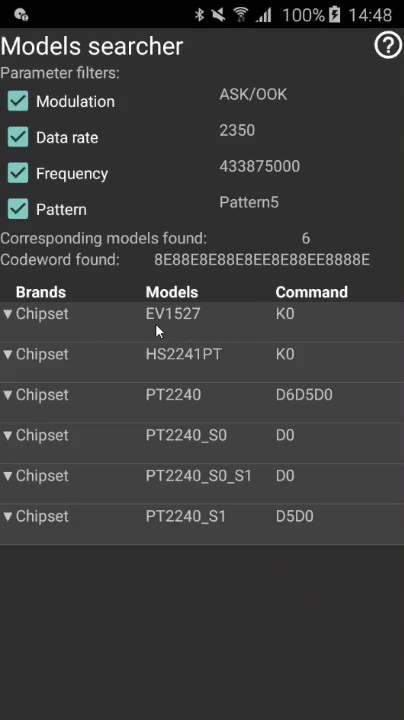
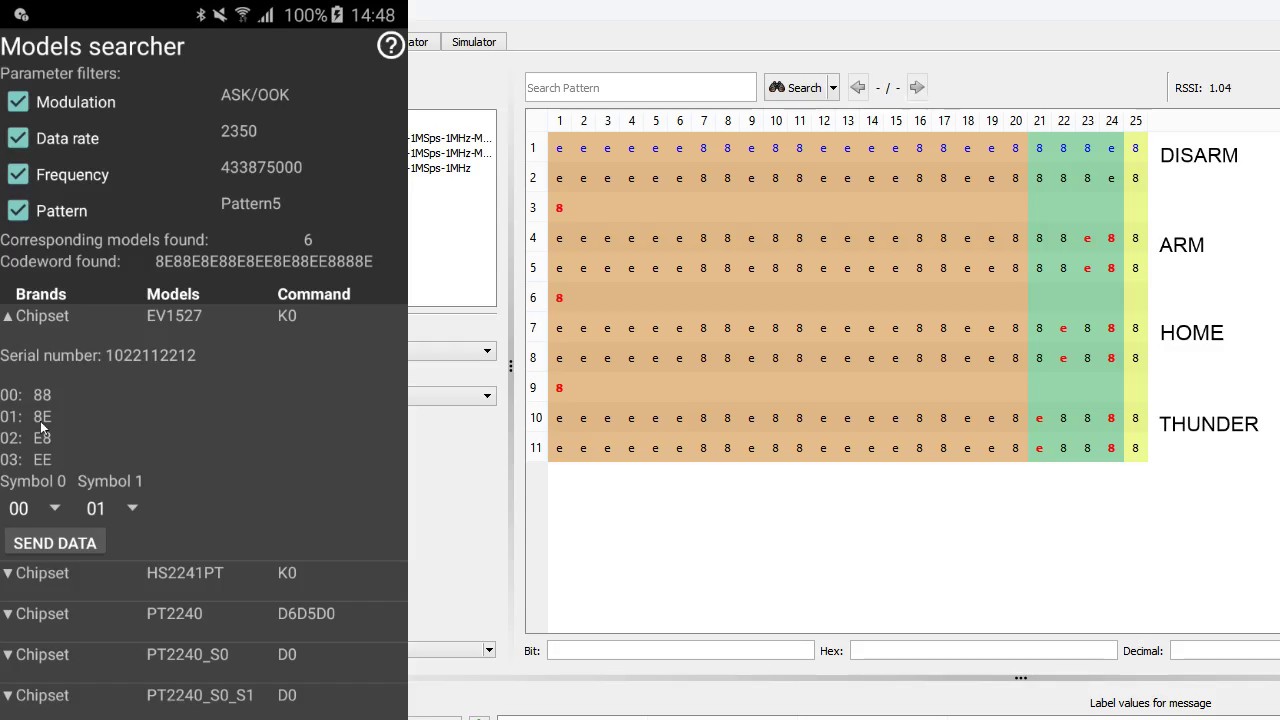
For the remote we used in the demo, the encoder (or chipset) that was used is the EV1527. So we expanded it to see which encoding strategy it uses. We could see all the encoded symbols that the chipset uses. For each value that we need to fill out in the spinners the corresponding symbols are displayed in the application. And for this encoder, only 2 symbols of one byte were used to transmit the command. Each symbol can have 4 values (0x88, 0x8E, 0xE8, 0xEE).
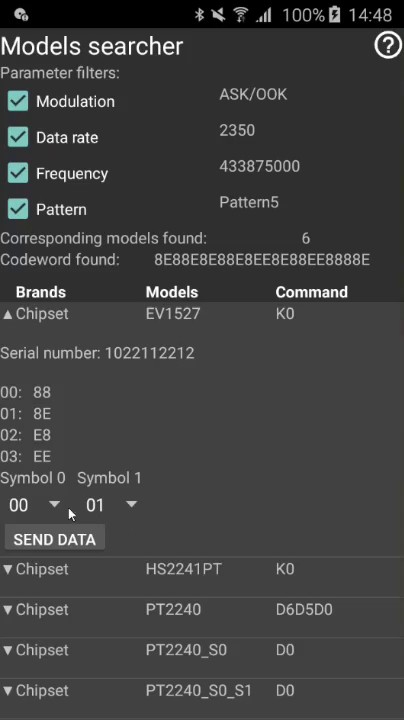
So by using a URH capture, we could determine which symbols, in green, we needed to replay the desired command.
We could see that we captured a Disarm command. So to send a Home command, to arm or to disarm the alarm we had to change the symbols 0 and 1 by the corresponding symbols used by the chipset. This way we were able to completely impersonate the remote of the alarm.
You can watch the full demo video here, and make sure to subscribe to our YouTube channel if you want to stay updated on all our demos.